Fraction of “I Wandered Lonely as a Cloud” BY WILLIAM WORDSWORTH
For full poem click here


If you are not familiar with the basics of natural dyes, we recommend you to read our Natural Dyeing Notes here
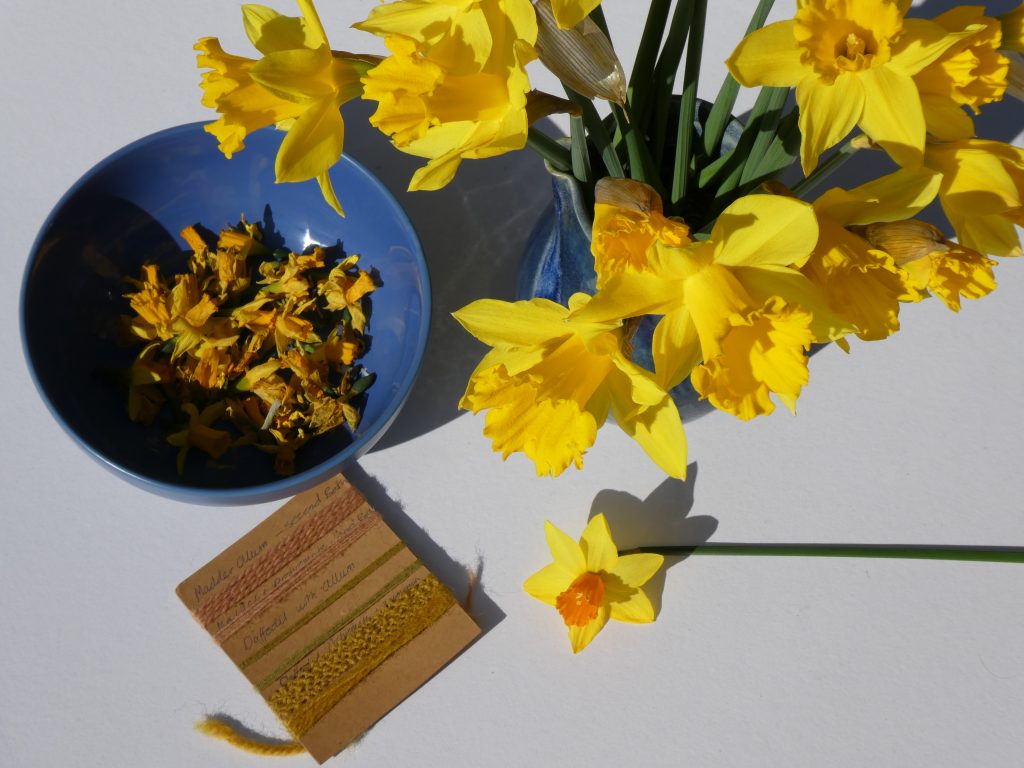
To me having glorious bunches of daffodils brightening up the house is a sure sign that spring is upon us. Spring is such a time of hope and anticipation that has never been so welcome.
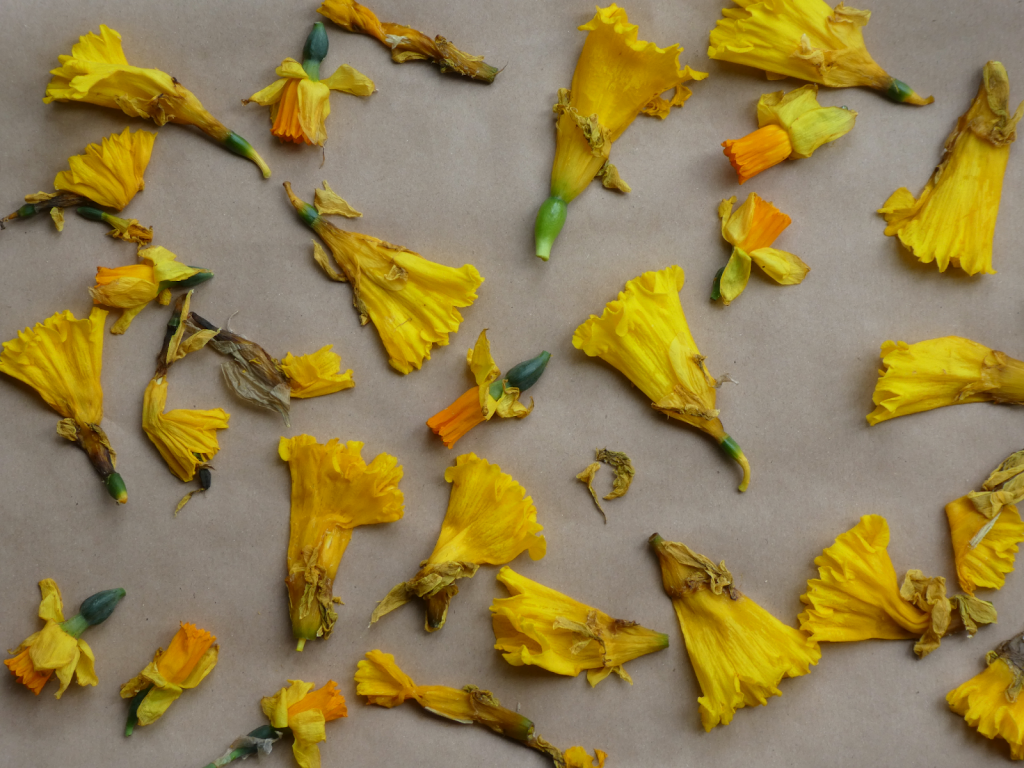
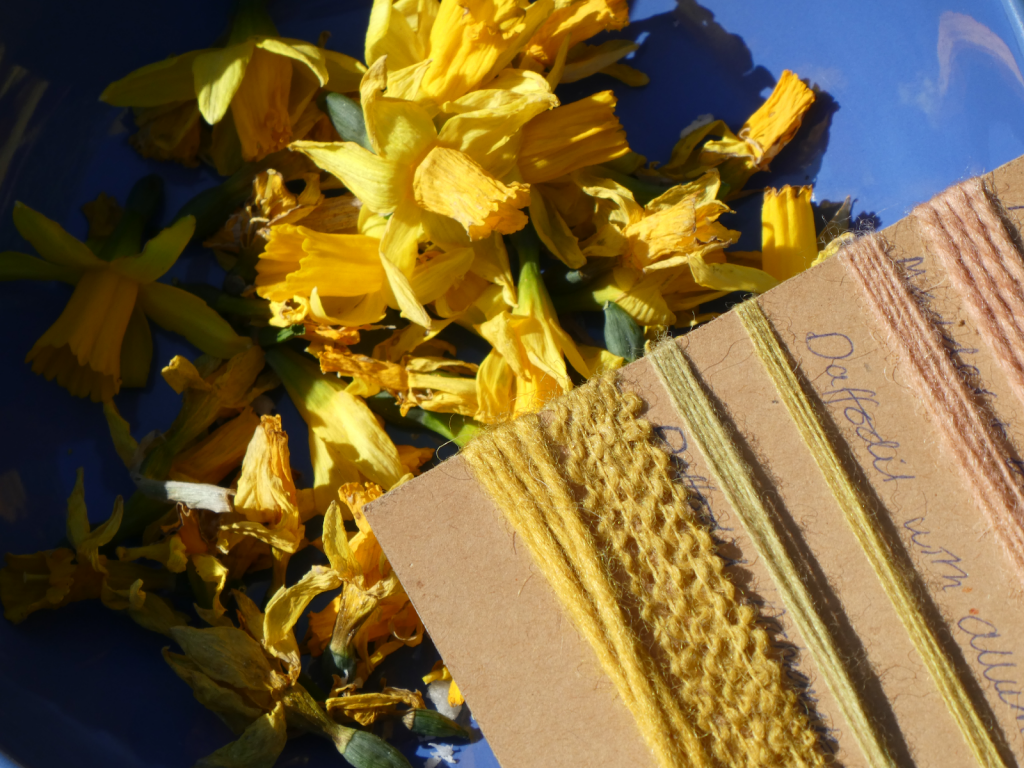
The flowers often seem short lived but saving the dead heads for the dye bath is a great way of appreciating their vivid colour for longer. I either lay them out on paper or just leave them in an open bowl.
Please take care when handling daffodils – wear protective gloves and cover your work surfaces, as the sap is poisonous. Also, please bear in mind that it is essential to use separate equipment for dyeing and never use vessels or utensils that you intend to use for food.
Preparing your fibers
In order to catch the maximum amount of pigment, I would strongly recommend using a mordant. I use aluminum acetate or alum and tannin for cotton or other plant fibres. For wool I would generally use alum by itself or with the addition of cream of tartar.
making your dye
step one
Weigh you cloth or yarn to be dyed. Then weigh out dried daffodils equivalent to half the weight of yarn or cloth. If using fresh, you should have at least an equivalent weight of flowers to fibre. Aim to have twice the amount of fresh flowers if supplies allow. Add the flower heads to the dye pan, add water to fully cover dye materials plus 2-3 cm extra and leave to soak overnight – or longer if possible.

step two
Slowly heat the pan until nearly boiling then adjust temperature to a very gentle simmer (you should just see a few bubbles coming to the surface).
Continue to gently simmer for about 1/2 hour and observe how the colour deepens. Then remove from heat and pulverise with a potato masher and leave to soak overnight.

step three
Next day, use your sieve, lined with the muslin or gauze, to strain the dye into a clean bucket. Clean out your dye pan and again strain the liquid for a second time, into the pan.

using your dye
When you are ready to dye you will need to add more water to your pan – just enough for your yarn or cloth to move freely.
Thoroughly soak the fibre and add to the dye bath, preferably for at least 2 hours.
Heat the dye very slowly, stirring regularly until a gentle simmer is reached.
Maintain a low, gentle simmer for 30 mins – 1 hour.
Turn off heat and leave fibre to soak in the pan overnight or even a number of days if possible.
Now you have a choice – you can either remove items from dye pan or gently rinse in cool water – or allow the fibre to dry and leave to ‘cure’ for a few days before rinsing.


Notes prepared by Katrina Barnish for Sewing Café Lancaster/// sewingcafelancaster@gmail.com